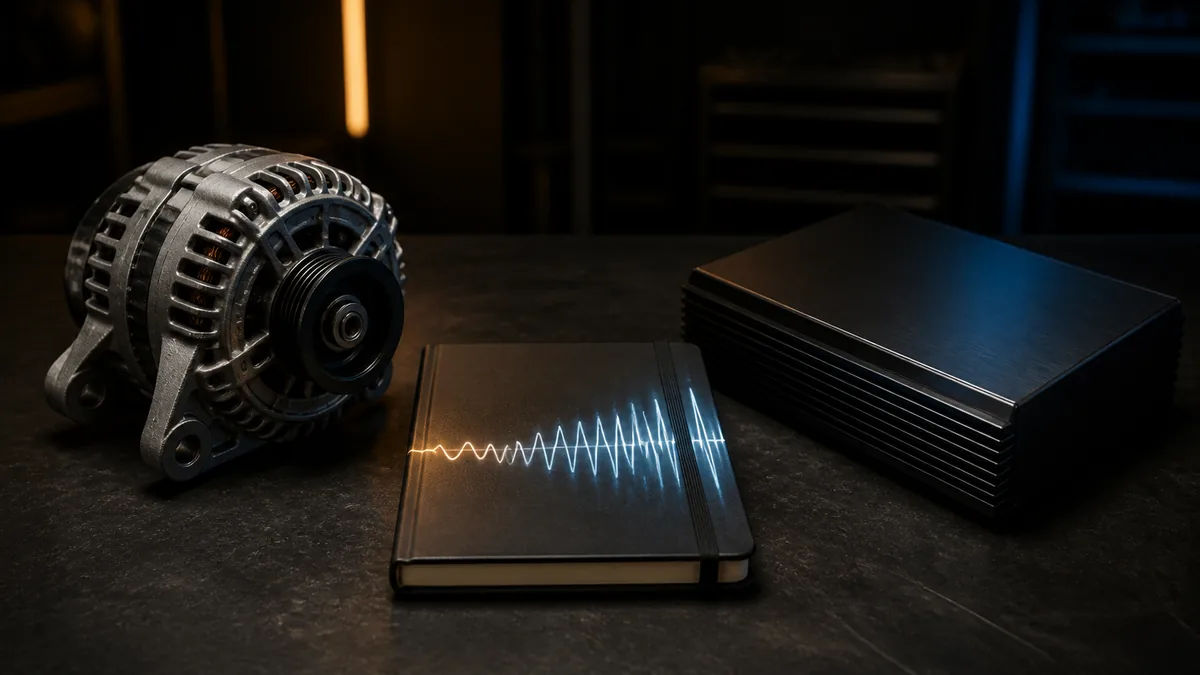
“Alternator whine” describes a high-pitched noise heard through the audio system whose pitch often changes with engine speed. That correlation is useful evidence, but it does not prove that the alternator itself is defective or that one ground connection is the cause.
Confirm the symptom first
| Observation | Boundary it helps define | It does not prove |
|---|---|---|
| Pitch tracks engine RPM | Noise is correlated with engine/charging operation | A failed alternator |
| Noise is heard only through speakers | Audio/electrical path is involved | Which device or connection introduced it |
| Noise exists mechanically with audio off | Source may be a physical vehicle component | That the audio system created it |
| One source/input is quiet | Fault may be upstream or input-specific | Every downstream stage is correct |
| Noise changes with audio volume | Injection point may be before/within the controlled gain path | One universal cable or grounding fault |
| Noise remains with source muted | A downstream, control, or supply-related path deserves investigation | That the amplifier is defective |
AudioControl’s noise technical paper identifies engine-speed-related whine as a recurring car-audio noise pattern and discusses multiple coupling and grounding paths. KICKER’s KXMA manual includes alternator-noise troubleshooting within a product-specific diagnostic table.
Map every path before moving anything
Draw the source, interface/LOC, DSP, amplifier, and speaker path. Separately record main positive supply, return/ground, remote control, and any factory module connections. Note cable routes, but do not assume proximity alone establishes coupling.
Change one boundary at a time using methods permitted by the product manuals. If several wires or settings move at once, the result cannot identify the cause.
Ground-loop is a description, not a complete diagnosis
The phrase “ground loop” is often used for any whine. Actual noise can involve differences between signal references, unwanted shield current, supply ripple, routing/coupling, gain structure, defective equipment, adapters, or vehicle integration. More than one path can exist simultaneously.
Never remove a protective ground or disconnect a required power return as an experiment. Signal-isolation products can alter a path, but they do not prove the original cause and may affect bandwidth or level.
Check product-specific operating evidence
Record amplifier indicators, source state, engine state, and terminal voltage conditions. Compare with the current manuals. If charging-system ripple or alternator condition is suspected, use the vehicle service procedure or an automotive electrical professional; do not condemn the alternator from speaker noise alone.
Loaded voltage-drop testing can identify excessive loss in a power or return segment. It cannot by itself identify every noise-coupling mechanism.
A controlled diagnostic sequence
- Confirm the sound is reproduced by the speakers and record when it occurs.
- Establish whether pitch follows RPM and whether level follows audio volume.
- Identify which sources, inputs, and channels are affected.
- Read exact manuals for grounding, input modes, balanced/differential behavior, and fault indicators.
- Inspect secure routing, terminations, protection, and vehicle bonding with power safely isolated.
- Use safe, manual-supported isolation tests one boundary at a time.
- Verify the final condition across the operating states that originally reproduced the noise.
Stop conditions
Stop for heat, smoke, damaged insulation, loose battery/high-current terminals, repeated fuse opening, charging warnings, belt noise, or uncertain under-hood access. Noise suppressors and larger grounds are not substitutes for diagnosing a charging fault or unsafe connection.
Last verified: August 23, 2026.
Sources
- AudioControl, Tech Paper 103: Noise and Car Audio.
- KICKER, 2021 KXMA 5-Channel Amplifier Owner’s Manual.