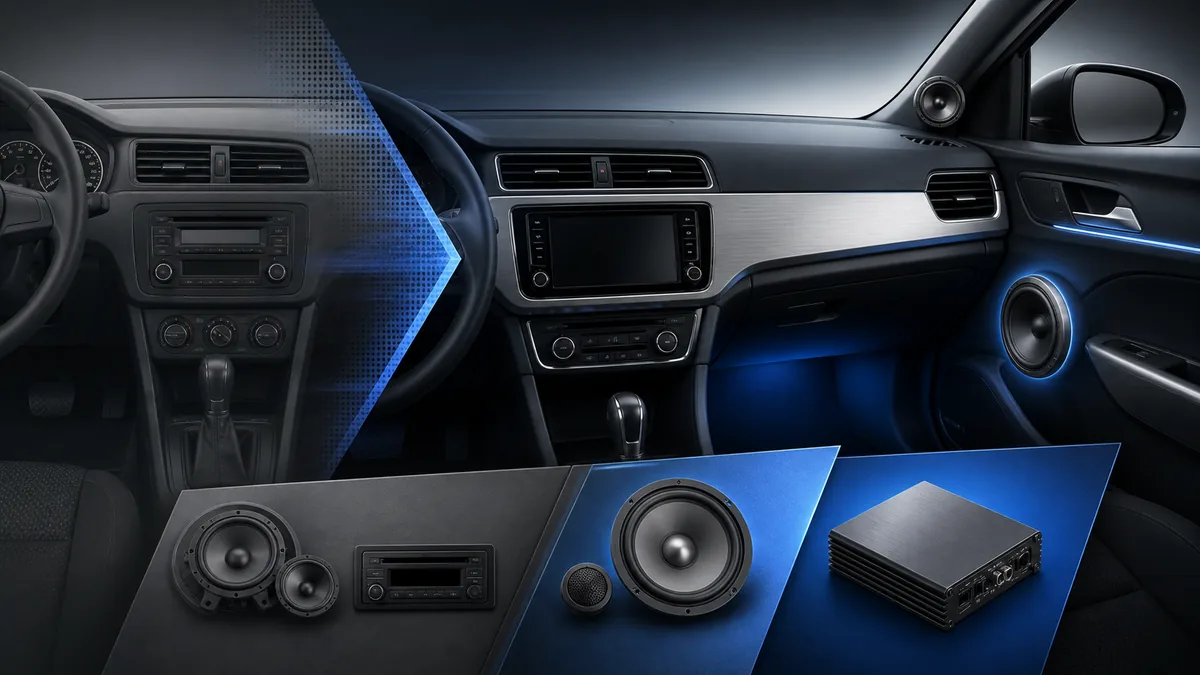
There is no universal “best first upgrade.” The right next step depends on the problem: damaged speakers, poor fitment, door vibration, insufficient clean level, missing bass, factory processing, or an integration boundary.
Start with the symptom and constraint
| Goal | First boundary | Possible next step |
|---|---|---|
| Repair distortion or silence | Driver, harness, source, or amplifier fault | Diagnose before upgrading |
| Improve clarity | Speaker condition, fitment, processing, and placement | Correct fit or replace the relevant speakers |
| Reduce door buzz | Mount, trim, panel, harness, moisture barrier | Locate and treat the vibrating boundary |
| Increase clean level | Source clipping, speaker sensitivity, load, headroom | Evaluate amplifier integration |
| Add low-frequency output | Signal route, enclosure, power, cabin, ANC | Add a subwoofer path after integration review |
| Keep factory chimes/controls | Factory amplifier and network architecture | Vehicle-specific interface or retain module |
Crutchfield’s factory-system guide describes speaker, amplifier, and bass-upgrade paths while noting that newer factory systems can be digitally controlled. AudioControl’s LC6i information illustrates one product family built around factory speaker-level integration, not a universal solution.
A low-complexity sequence
- Document the factory system. Vehicle, audio option, channels, factory amplifier, ANC/chimes, speaker locations, and current fault.
- Repair and fit first. Use the speaker-fitment guide and installation plan. A new driver cannot fix a blocked window or loose mount.
- Control the door environment. Locate rattles and use damping/decoupling only where the door permits it.
- Evaluate the source boundary. Determine whether the factory output is full-range, crossed-over, processed, networked, or speaker-level.
- Add amplification only when the goal requires it. Use the factory-amp integration guide and exact interface manual.
- Add bass as a complete path. Confirm signal, enclosure, load, power, gain, and vehicle behavior together.
- Tune last. Save the factory state and change one control at a time.
Avoid the wattage-first upgrade
More peak watts, a larger speaker, or a new head unit does not automatically mean more clean sound. Sensitivity, nominal load, factory EQ, mounting, cabin noise, enclosure, clipping, and thermal limits all contribute.
Do not bypass a factory amplifier or ANC module because a forum diagram looks similar. Confirm the exact vehicle and retain features that the system depends on.
Define success before buying
Write one measurable or observable target: less panel rattle, more clean level at the driver’s seat, clearer vocals, deeper low-frequency extension, or recovery of a failed channel. If the target is not stated, parts accumulate without proving which boundary changed.
Last verified: August 23, 2026.
Sources
- Crutchfield, How to upgrade your vehicle’s factory sound system.
- AudioControl, LC6i Factory System Upgrade.