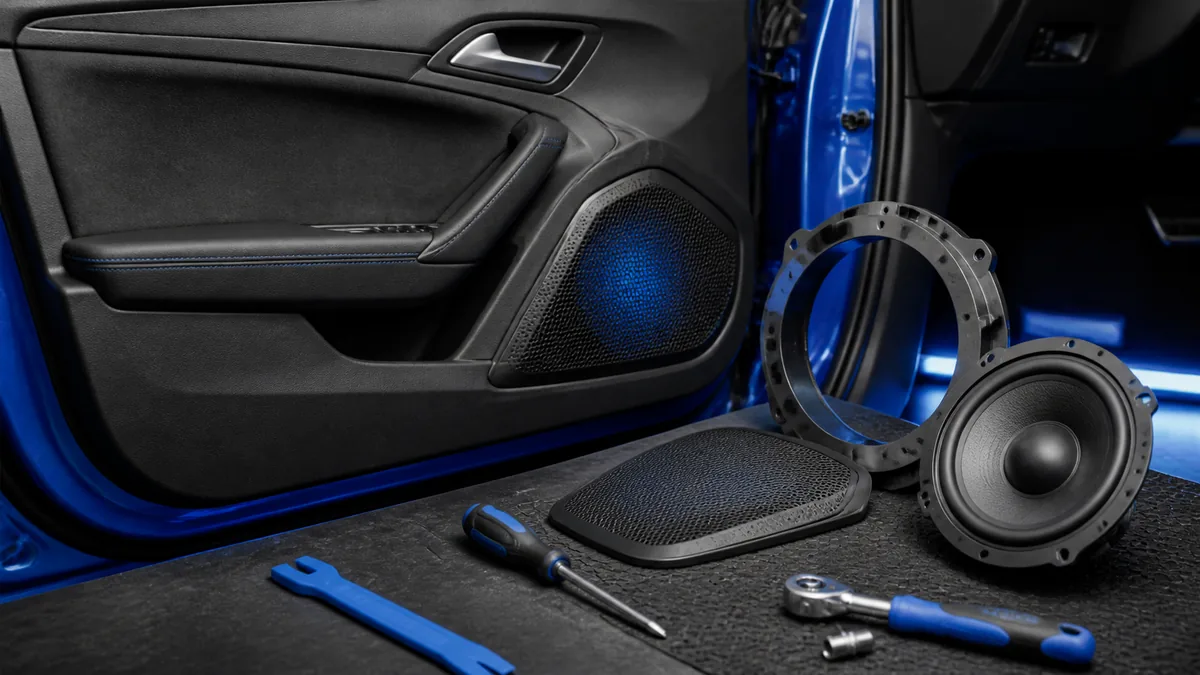
Speaker replacement is often mechanically straightforward, but the correct procedure belongs to the vehicle and exact speaker location. The safe plan is to document the original state, verify fitment, isolate energy as required, then restore every mechanical and electrical boundary.
Preflight before opening the door
| Boundary | Record before work | Stop when |
|---|---|---|
| Vehicle | Year, model, audio option, location, factory amplifier, airbag/trim notes | The service procedure is unknown |
| Speaker | Cutout, depth, height, impedance, connector, bracket, grille | Any dimension or load is unverified |
| Door | Window path, moisture barrier, drain, wiring clips, fasteners | The new basket could contact moving parts |
| Signal | Polarity, passive crossover, factory processing, channel role | The wire identity is assumed from color alone |
| Tools | Trim tools, appropriate drivers, labels, adapters, replacement clips | A tool could damage trim or wiring |
Crutchfield’s installation guide notes that mounting depth, height, factory wiring, and component-tweeter placement vary by vehicle. Its general steps do not replace a make/model service procedure.
Preserve the original record
Photograph the speaker, connector, fastener pattern, wire polarity markings, gasket, and any bracket before disconnecting it. Label left/right and front/rear. Keep the factory speaker and adapter until the replacement has been tested and the door can be restored.
Do not infer polarity from a wire color copied from another vehicle. Use the factory connector, wiring diagram, speaker markings, or a documented low-risk method appropriate to the system.
Fit the assembly, not just the cone
Check the adapter ring, gasket, screw length, basket depth, magnet clearance, grille, window travel, and moisture path with the speaker in its final plane. A loose adapter can create air leaks and rattles; a protruding screw can damage a window mechanism; an uncovered opening can change water behavior.
Component speakers add tweeter placement and passive-crossover mounting. Do not place a crossover where water, moving glass, heat, or unsecured trim can reach it.
Restore the electrical path
Use an appropriate harness adapter where possible. Preserve connector locking, strain relief, polarity consistency, and the vehicle’s factory functions. KICKER’s amplifier manual demonstrates why product-specific load and wiring requirements matter; a speaker replacement does not authorize changing an amplifier’s minimum load.
Reconnect only after the documented power-down sequence. Test at conservative level before reinstalling every panel, then listen for rubbing, distortion, missing bands, rattles, and channel reversal. Use the rattle guide if a new vibration appears.
Safety boundaries
Do not probe airbag connectors, pierce insulation, defeat a moisture barrier, operate a window with hands/tools in the path, or leave loose high-current wiring inside a door. If trim retention, network integration, or power isolation is uncertain, stop and use the exact service documentation or qualified installer.
Last verified: August 23, 2026.
Sources
- Crutchfield, How to install car speakers.
- KICKER, 2019 CXA 4-Channel Amplifiers Owner’s Manual.